Update March 18th 2020: Due to the amount of events that are going online, I have updated this guide to help also for those recording their talks at home.
Public speaking has never been so popular in the developer community, not only it is a fantastic way to share knowledge but also for personal and professional growth.
You may have noticed that every time someone announces they are speaking someone asks: Is it going to be recorded? — The answer should always be YES.
My recommendation is that you should always record your talks because:
- You don’t rely on conferences publishing the content
- You keep ownership of your work
- You make sure that there are no recording issues
- You can make the video available in a day or two
You can use this guide also to record and share your talk at home, even when participating on an online call.
In this article, you are going to learn how to record your own talks using the free open source tool OBS.
Preparation
Your first task is to download OBS: Open Broadcaster Software
OBS is a free and open source software for video recording and live streaming.
With OBS you can create multiple scenes that combine video and audio input, let’s create one scene for recording talks.
Create a new scene collection
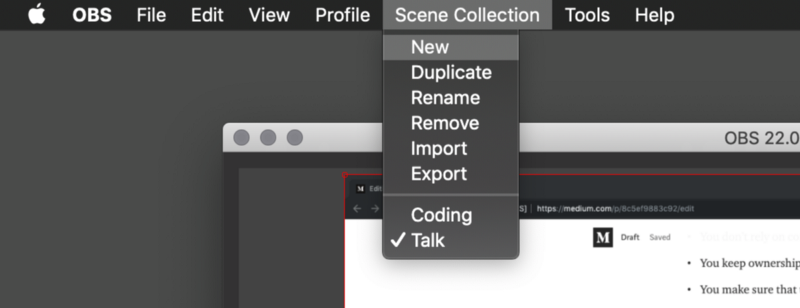
Create a new one and give it a name, for example, Talk.
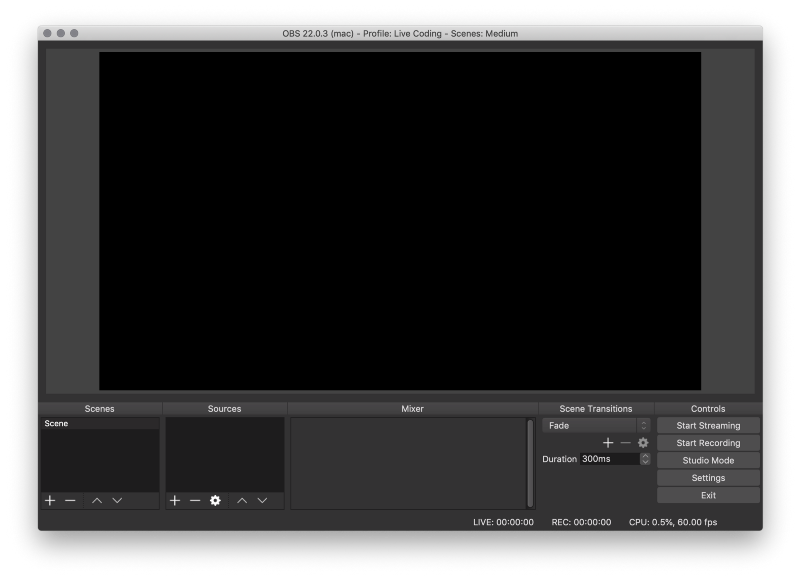
You will see that everything is empty now, we need to add some Sources to our Scene.
Audio Capture
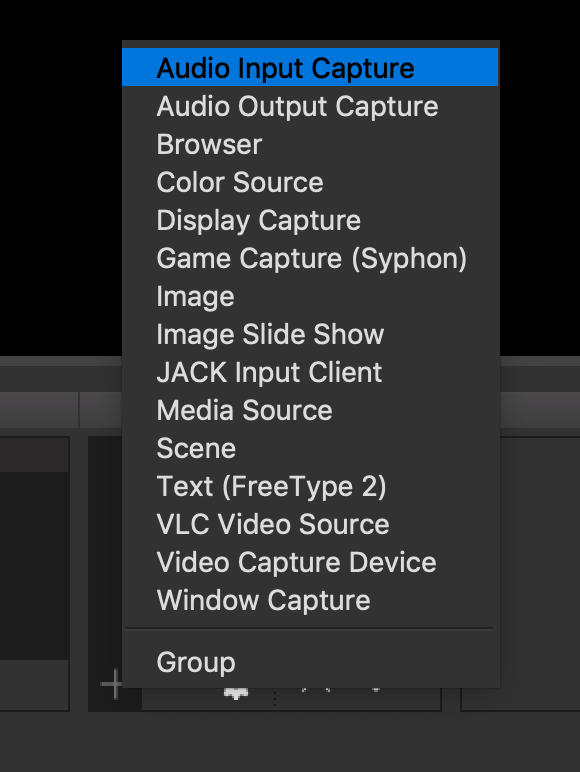
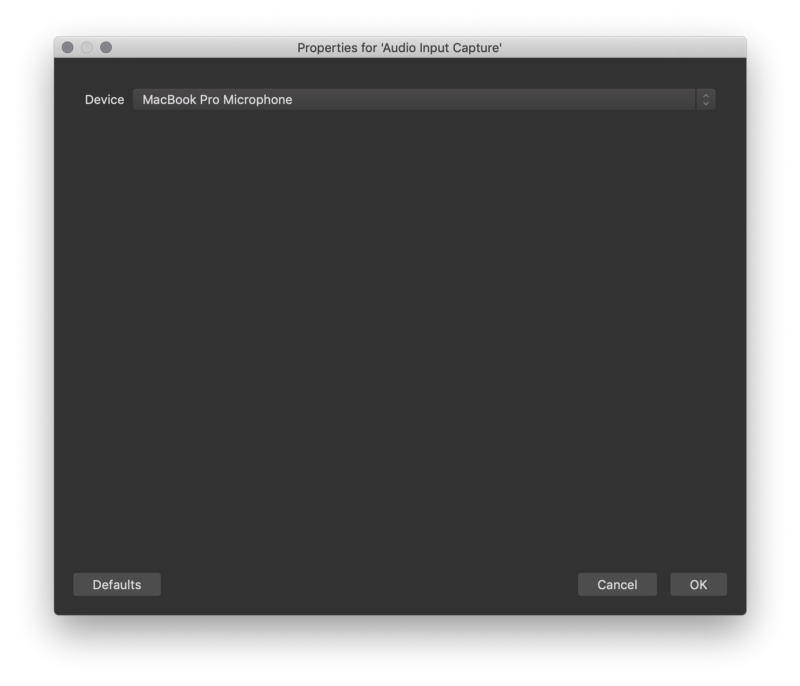
Add an Audio Input Capture.
When speaking on stage, I select the internal laptop microphone (in my case, MacBook Pro Microphone).
At home, you want to use a proper microphone. I personally use an AT2020 with a Behringer audio interface. I can also recommend the AT2020+ USB which is easier to setup.
Display Capture
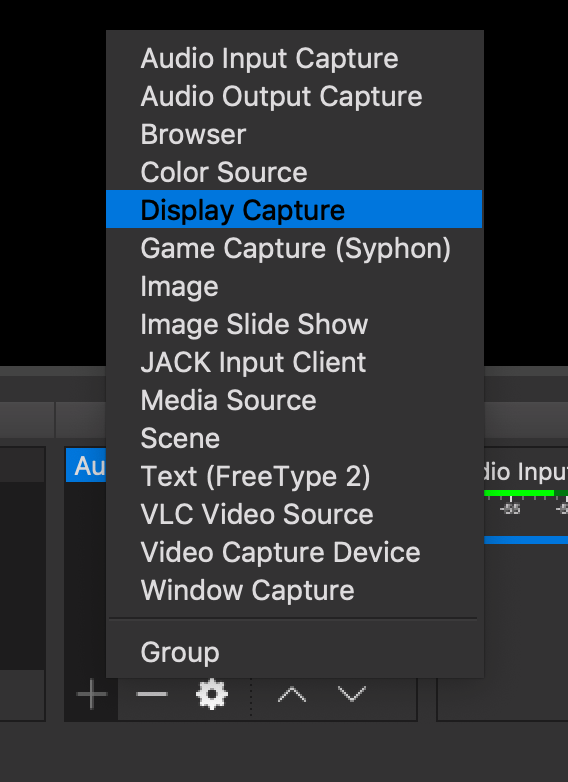
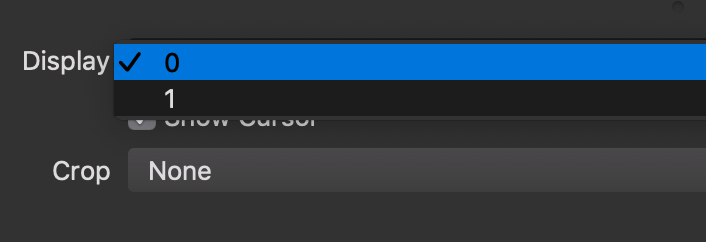
Now add a Display Capture.
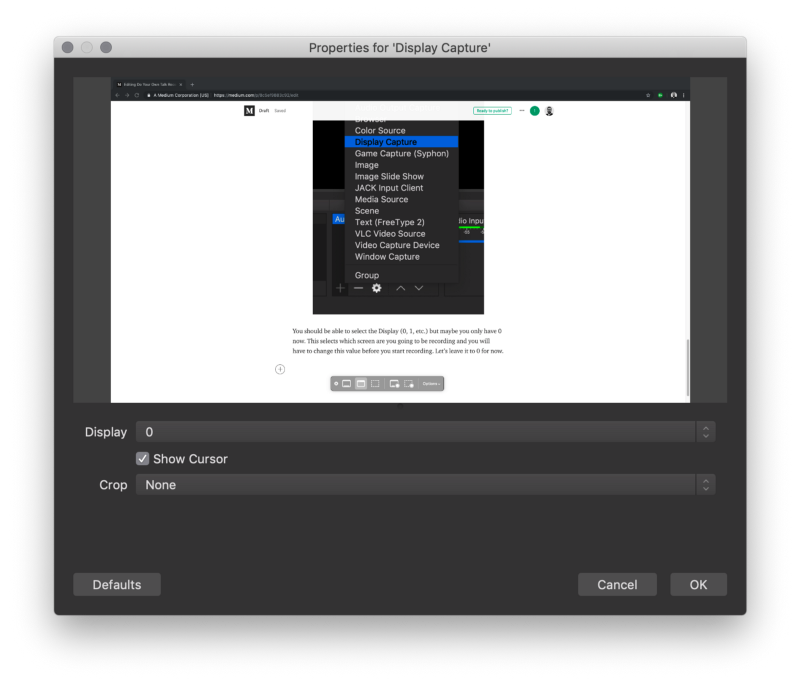
You should be able to select the Display (0, 1, etc.) but maybe you only have 0 now. This selects which screen are you going to be recording and you will have to change this value before you start recording. Let’s leave it to 0 for now.
When you are at home, 0 is usually your main monitor (maybe the external monitor) and 1 is the laptop. Be sure before recording that you have selected the correct one!
At home, I recommend you to have an external monitor and use it as the projector, and use the laptop as your speaker notes, because you are probably be using the laptop webcam as well.
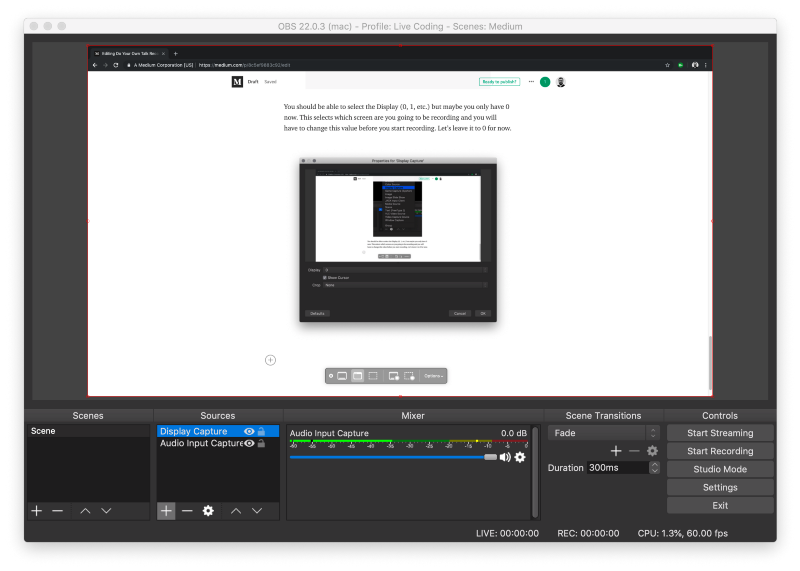
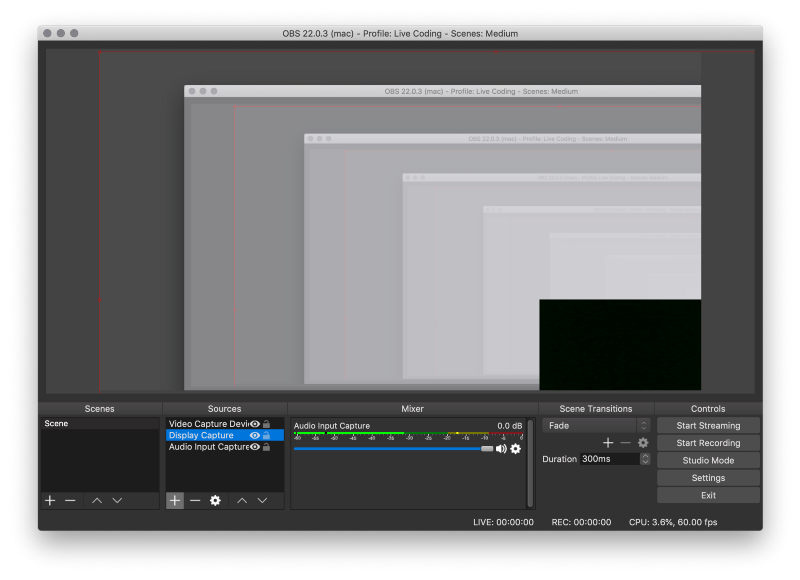
Your current configuration should look like similar to this one:
That’s what you basically need to do a recording. But I also like to add a camera capture input, it will give more personality to your recording and will help your audience to connect better with you.
Video Capture (Webcam)
Add a Video Capture Device:
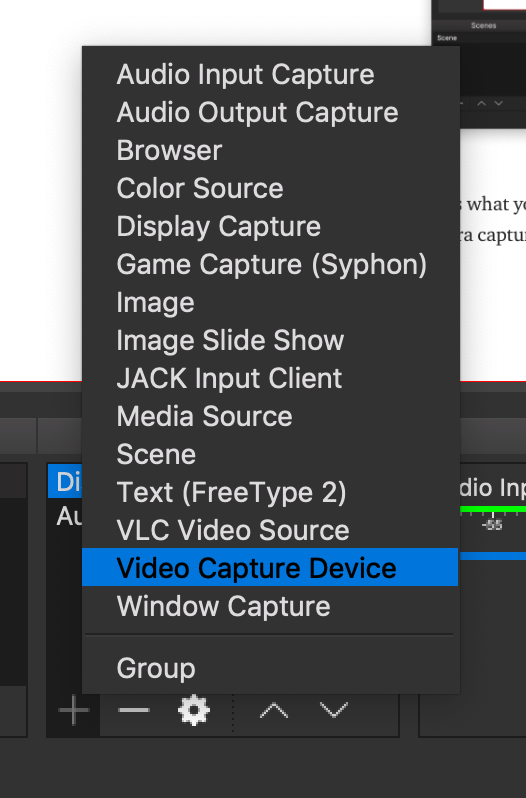
Then select the laptop camera:
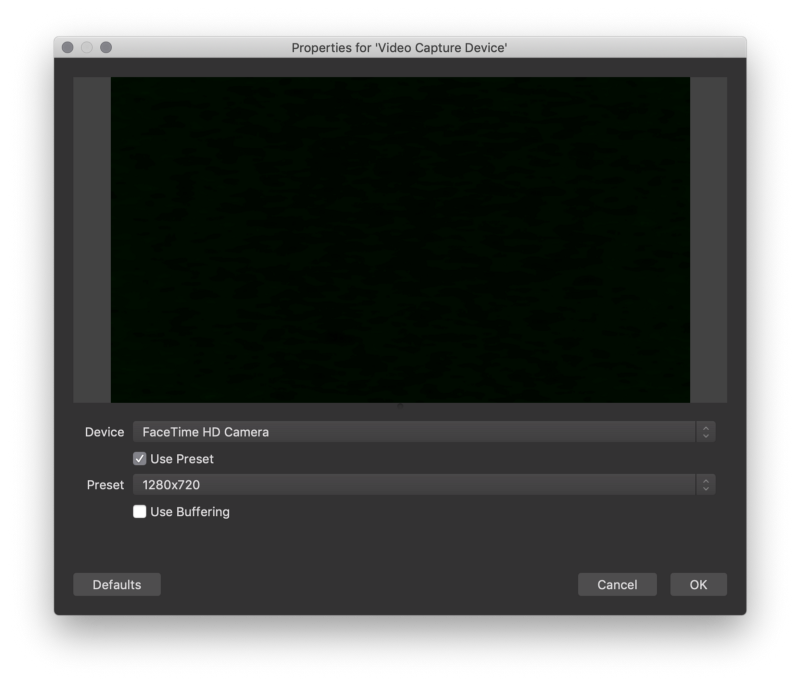
Mine is currently covered up, but you should see yourself in this one.
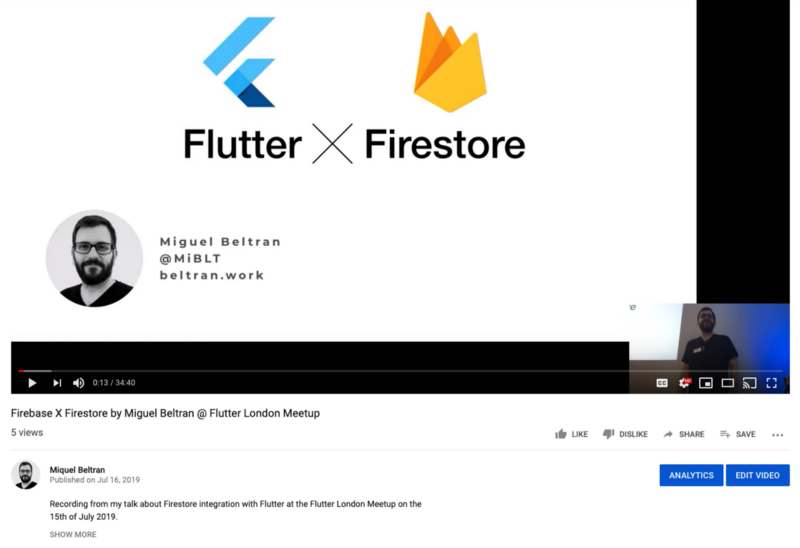
Now we need to arrange the video and camera input so they don’t cover each other, you can drag both windows around and resize them, the way I like to arrange it is like this:
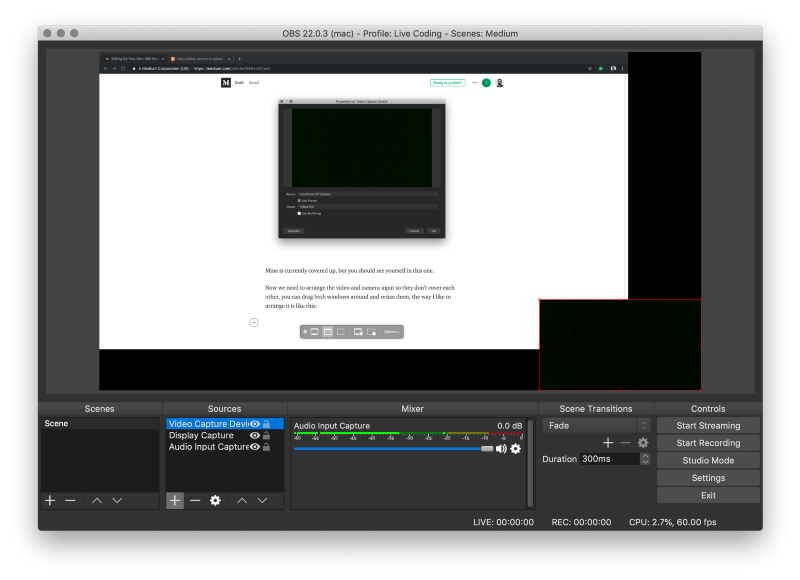
Setup is completed
I put the camera input in the bottom right corner of the screen in smaller size, and the display input taking the rest of the screen, but being slightly covered by the camera input.
You need to be sure, when you create your presentation, that no important content is going to be covered.
As a good practice, do not put important content on the lower 1/3 of the presentation because it may be covered by the heads of the people in the first rows.
Last but not least, check the general Recording settings:
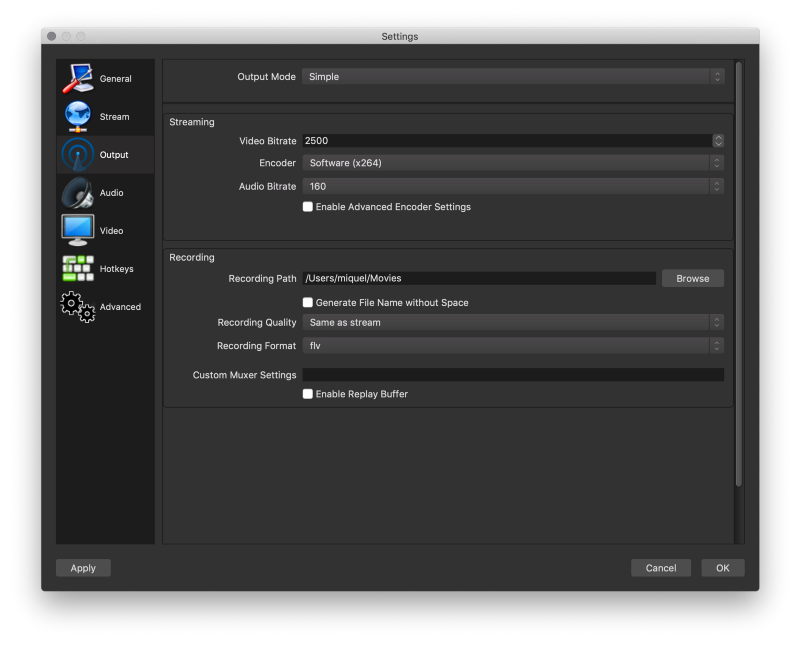
The recommended Format is FLV, which has the advantage that if the video is cut for some reason (like a computer crash) everything will still be captured. The problem of FLV, is that you cannot edit it in most video processing tools (like Camtasia) and you will have to convert it to MP4.
If you change it to MP4, you will see a warning on the screen telling you about this problem. It is up to you to decide.
If your goal is to just upload it to YouTube once you are done, then leave it to FLV.
Also, feel free to change the Recording Path.
Everything is ready for the recording! Now let’s see how you do that.
Before Recording
Moments before the start of your talk, once you’ve got your laptop connected to the projector (or external monitor), open OBS again and select the Scene you have created.
Open the Display Capture source options by double clicking on it and select the right display. You want to select the same display input that you see on the projector.
If you see something like this:
It means that you are capturing your laptop screen and not the projector :-)
Be double sure that you are selecting the right display.
Recording
Before you start your presentation, click on Start Recording.
And once you finish your talk, click on Stop Recording.
No other action is required.
After the Talk
You should be able to find your video in the configured recording path.
You can directly upload it to YouTube. The processing should be very fast. Give it a title and a description, and disable comments if you are not interested about it.
Now your talk is ready to be shared with the rest of the world!
Want to learn more Android and Flutter? Check my courses here.